I haven’t had time yet to use or understand Pages …
Does it mean, for instance, “Page 2”, follows the Layout of “Page 1”.
Unclear, TT
“pages” lets you define multiple layout grids in a single PasteUp tiddler. All pages in the same PasteUp tiddler use the same grid size and background settings and share the same /layout and /styles tiddlers, but they are each drawn separately, one after another.
The intended use-case is to permit the creation of multi-page printed output. When printed, each page is automatically output on a separate physical page.
-e
If I made a paste up with only Page 1 could I add a Page 2 later?
Just wondering, TT
Sure. Just go to the “Settings” popup and change the number of pages. It doesn’t alter the existing “Page 1” layout. It just add more grids for the additional pages. You can then move items from Page1 to any of the additional pages.
However… let’s suppose you set pages=3, and move some items from page1 to page 3. Then, later on, you set pages=2. The items on page3 are automatically shown on page 2 (the last page that is now available). Note that the page number assigned to those items remains “page 3” (unless, of course, you then move those items now shown on page 2, which updates the assigned page number).
-e
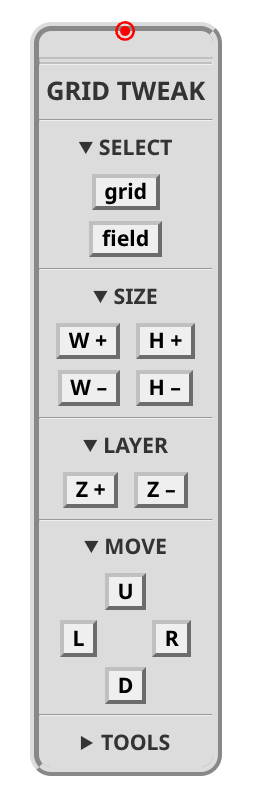
The one Tool I’d really like is a NUDGER (one STEPPER)… a separate tool that could …
My image of a control is this …
TT
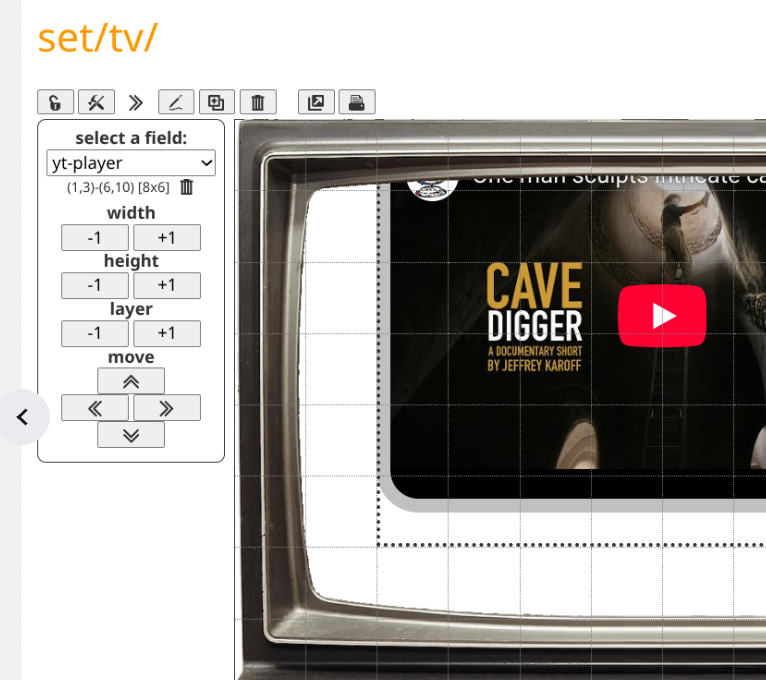
TiddlyTools/PasteUp/View has been updated:
When a PasteUp tiddler is unlocked (enabed for editing), a new “toggle toolkit” button appears next to the “lock/unlock” button.
When you click this button, a toolkit for making quick adjustments to the current PasteUp tiddler’s /layout appears on the left side of the layout grid.
(top,left)-(bottom,right) [widthXheight] layout information is shown.width, height, and layer layout values. Note that the field’s width and height values cannot become less than 1 x 1, regardless of how many times you click the “-1” buttons. Similarly, the field’s layer value cannot become less than 0.Currently, I have not included controls for adjusting a field’s page layout value. I also have not included “bring to front/send to back” buttons for adjusting a field’s layer value. Both of these are possible, but I didn’t want to over-complicate the toolkit interface with too many “bells and whistles”.
@TiddlyTitch: in your mockup, you show a “grid” button and a “tools” section. Can you elaborate on what these would do?
enjoy,
-e
I made some more updates:
added handling for “page -1/+1”. If the selected field is on the last page (or there is only one page), then using “+1” will automatically add another layout grid (aka, “page”) and move the selected field to the same position on the new page.
When adjusting the position (using the chevron buttons), it now prevents you from moving the selected field completely off the bottom or right side of the grid.
I also tweaked the arrangement of the “toolbox” controls.
enjoy,
-e
I was thinking of a tool you could use with any Layout independent of the pasteup toolbar …
By “grid” I meant “Select Pasteup”
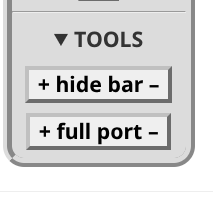
Under TOOLS I was intending the pasteup tool bar and tiddler header to be hidden. By “full port” I mean pinning the pasteup at top and expanded to full viewport width. These are more about post-editing presentation than active editing.
TT
I’ve moved the trash can to the left of the “select a field” prompt text. That moves it as far as possible from the “open drop list” arrow to avoid even the fattest of fat fingers ![]()
-e
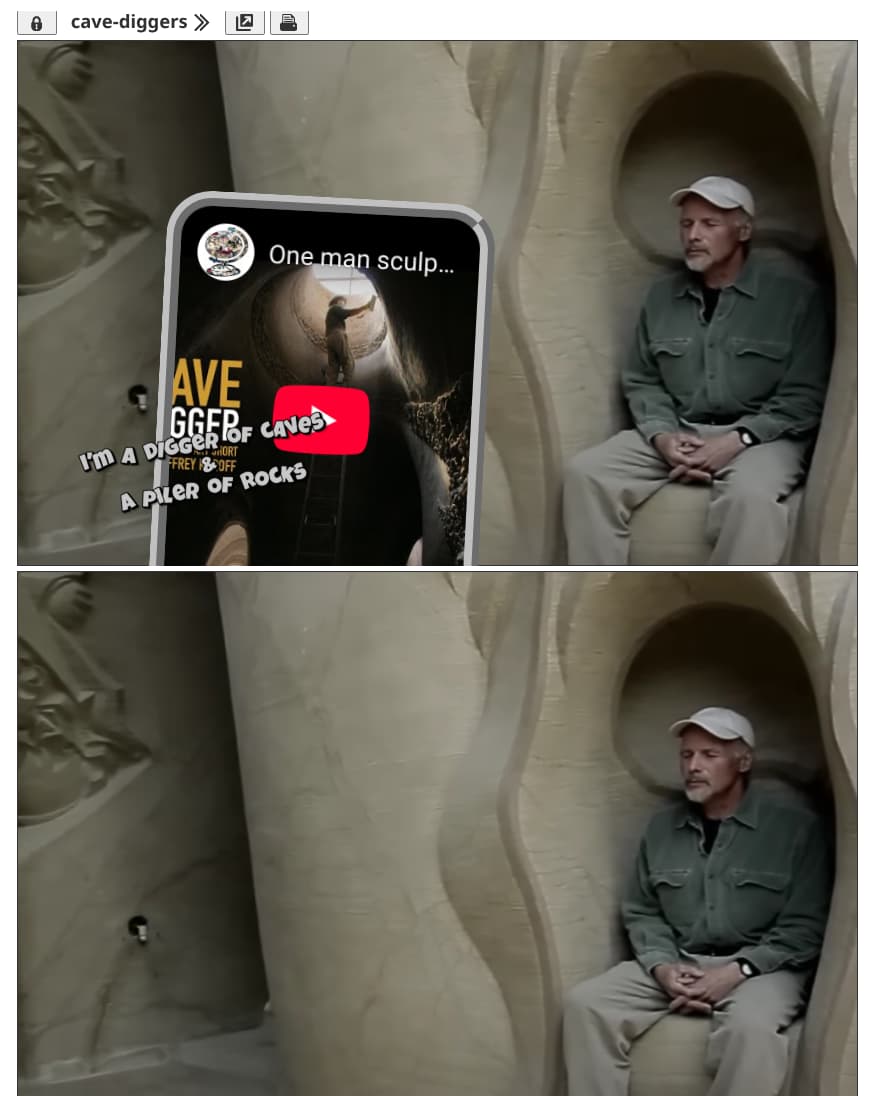
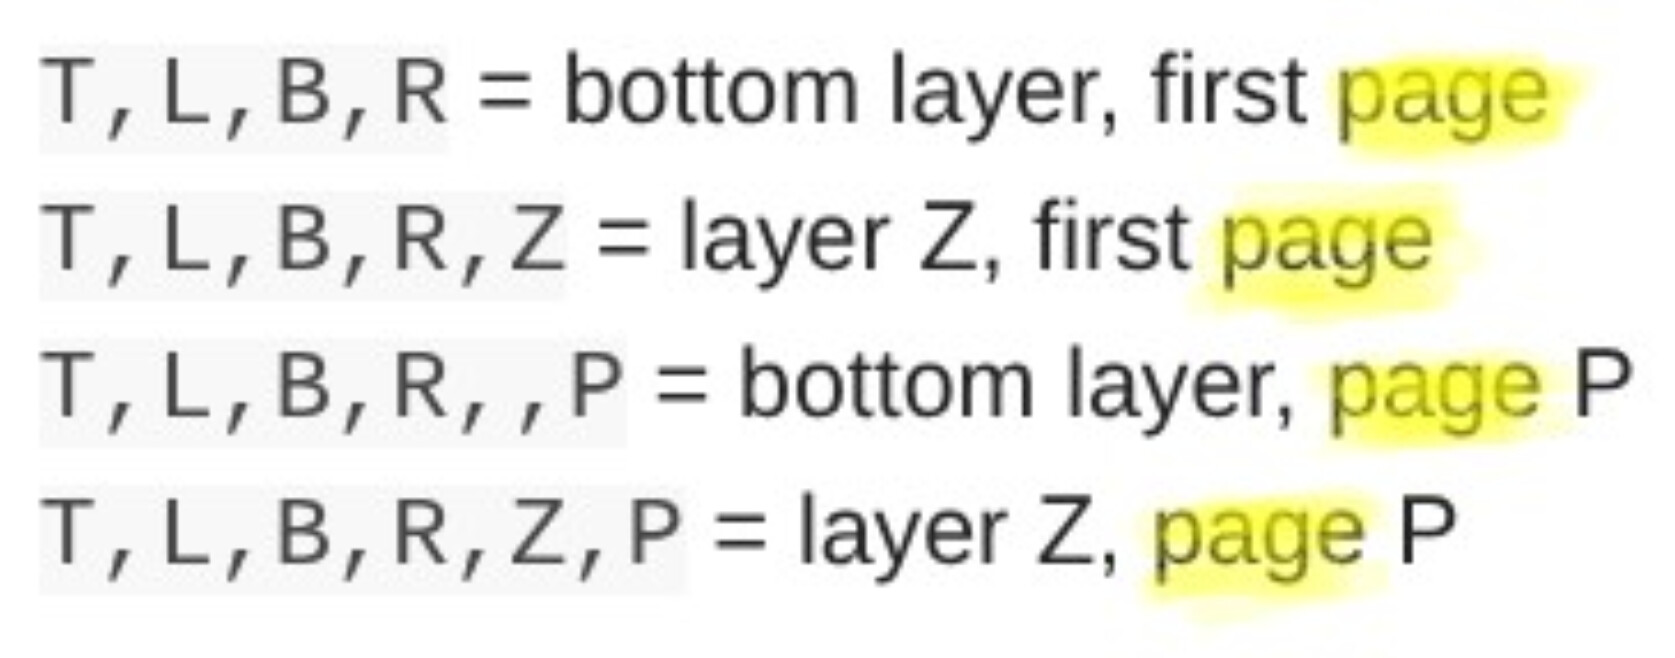
Note that when using PasteUpEmbed, you can provide a page:N parameter to embed a specific page from a layout, allowing a single PasteUp tiddler to contain several alternative layouts to be displayed in different places or contexts.
-e
You simply don’t know my fingers, man! ![]()
This seriously is starting to look like a page layout app or Desktop publishing such as;
Aldus PageMaker (later Adobe PageMaker) belonged to the class of desktop publishing (DTP) software.
And like those it has so many features crammed in, it may take time to learn. It would be nice to have a concise but comprehensive tutorial, so just putting the call out there.
Updates to TidldyTools/PasteUp and TiddlyTools/PasteUp/View:
<< and >> buttons to decrement/increment the width, height, layer and page values, you can now directly edit those values:
$edit-text widget instead of just a static text displayenjoy,
-e
Actually it is quite easy to learn—once you grasp the Tripartite inter-relation (Data, Layout, Style [DLS]). In that sense it is fully canonical, elegant, with the emerged fundamentals on web (and before) regarding “content” v. “structure” v. “presentation.”
I personally find the simple, explicit, DLS easy & powerful.
TT
Thanks @TiddlyTitch
I also had a briefing from Eric Via Zoom tonight 
Updates to TiddlyTools/PasteUp/View:
Inputs controls for “contents” and “styles” have been added to the toolbox. When you put the focus into one of these inputs, it automatically expands to a textarea for easy editing of its value; when the focus leaves the input, it automatically collapses back to a small control. Changes made in these input controls are immediately reflected in the rendered field on the layout grid.
You can now drag a field from the layout grid and drop it onto the toolbox panel to select that dropped field in the toolbox droplist.
enjoy,
-e