This guide walks you through setting up a WebDAV server via Docker Desktop on Windows in a trusted secure environment. You can serve up a folder on your computer via WebDAV and any TiddlyWiki file in it will automatically be able to save itself.
This was written for some friends and is being shared here in case others might find it helpful.
If you want to set up an internet facing WebDAV server you will also need to setup access permissions and a reverse proxy.
Steps:
-
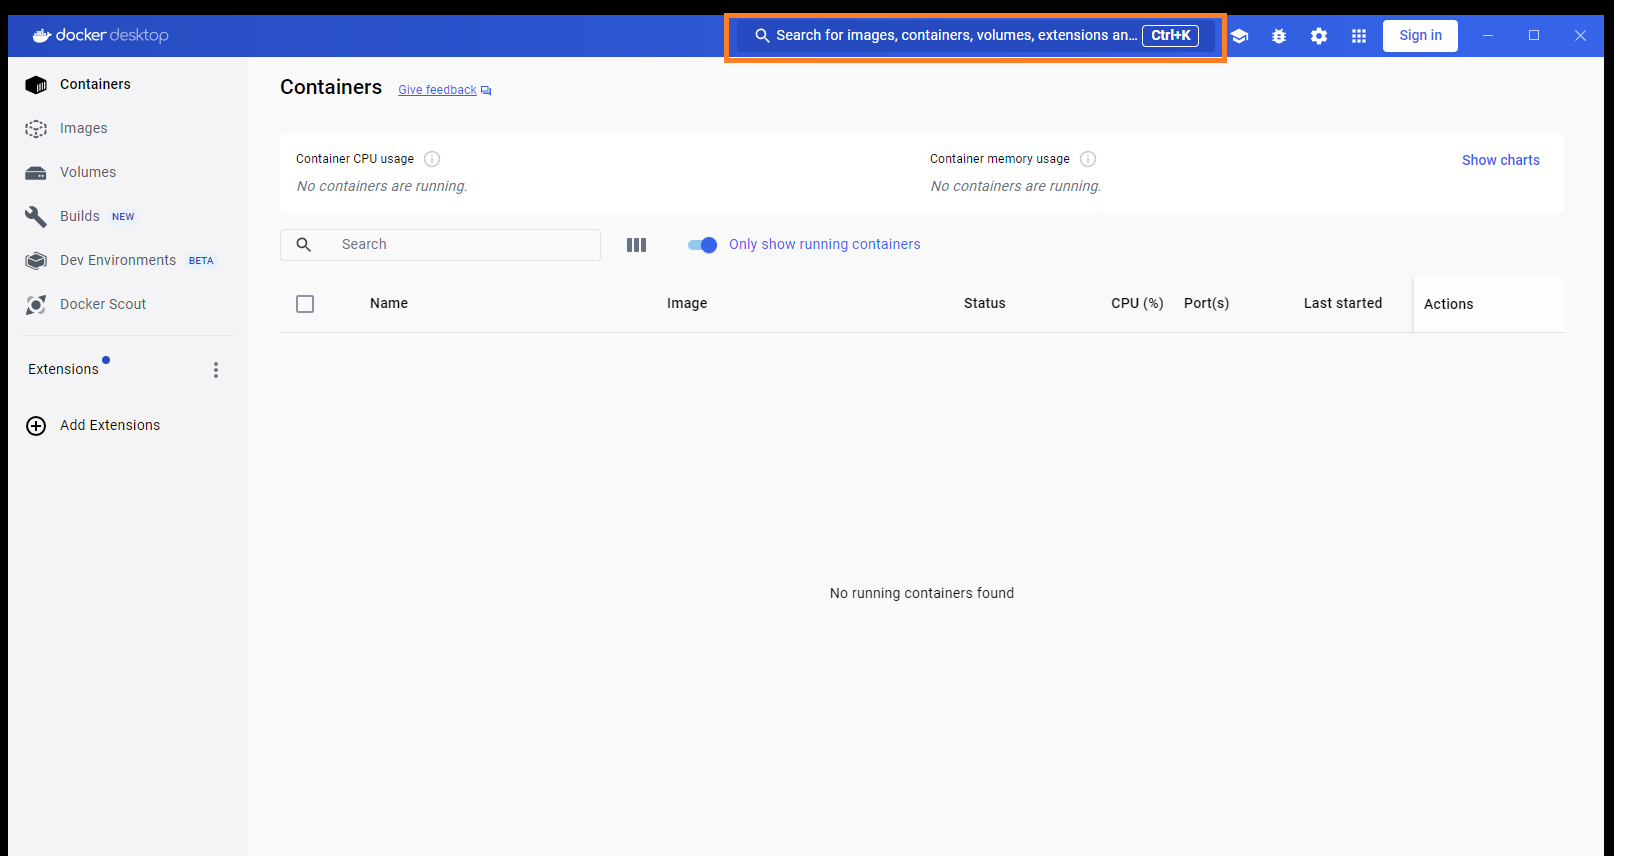
Open Docker Desktop and locate the search bar at the top:
-
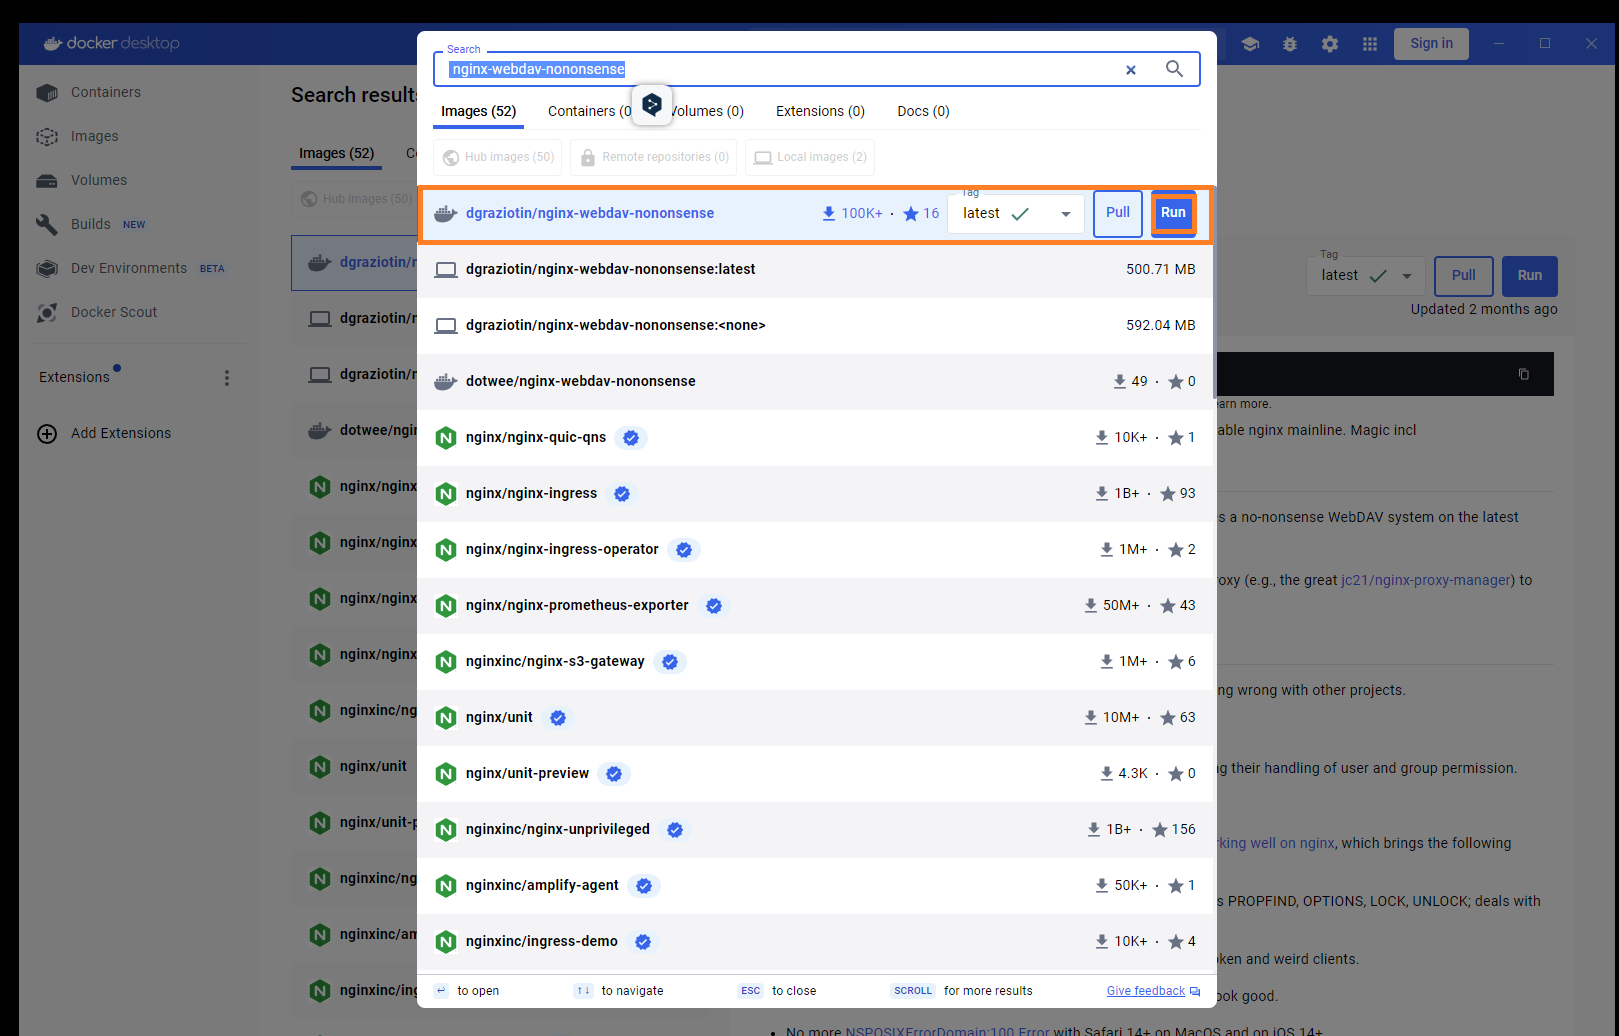
Search for:
nginx-webdav-nononsenseand click onRun:
-
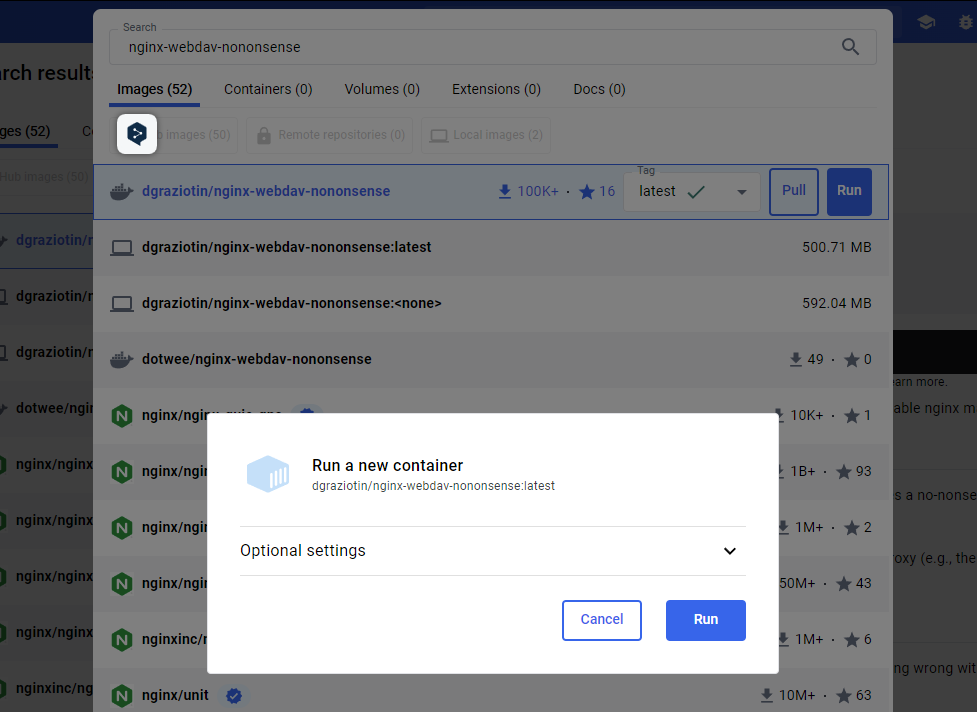
Wait for the popup:
Run a new containerand open theOptional settings:
-
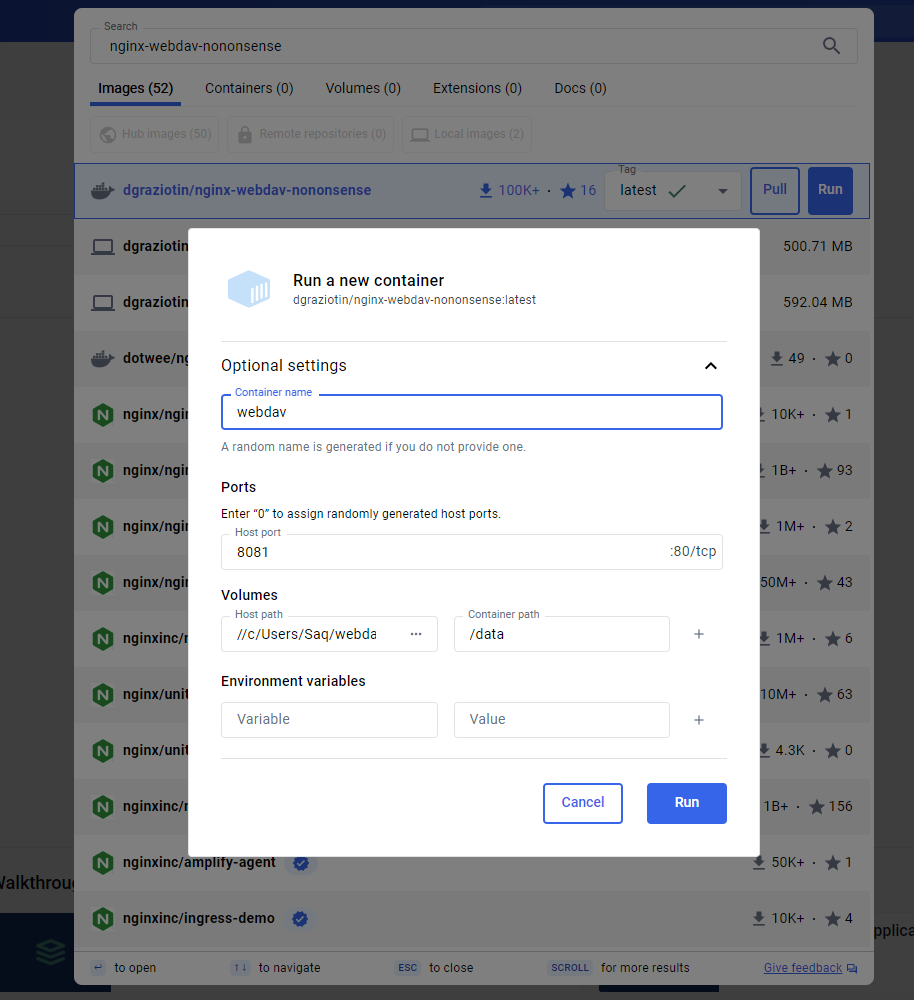
Fill in the settings as shown below and then click
Run.- Replace the
Host pathwith the location of the folder you want to serve over WebDAV. Note that the example shows how the Windows pathc:/Users/Saq/webdavneeds to be entered as//c/Users/Saq/webdav. - using
8081as thehost portmeans your WebDAV server will be available in the browser at the URL:localhost:8081. You can use80as thehost portto access the server atlocalhost
- Replace the
-
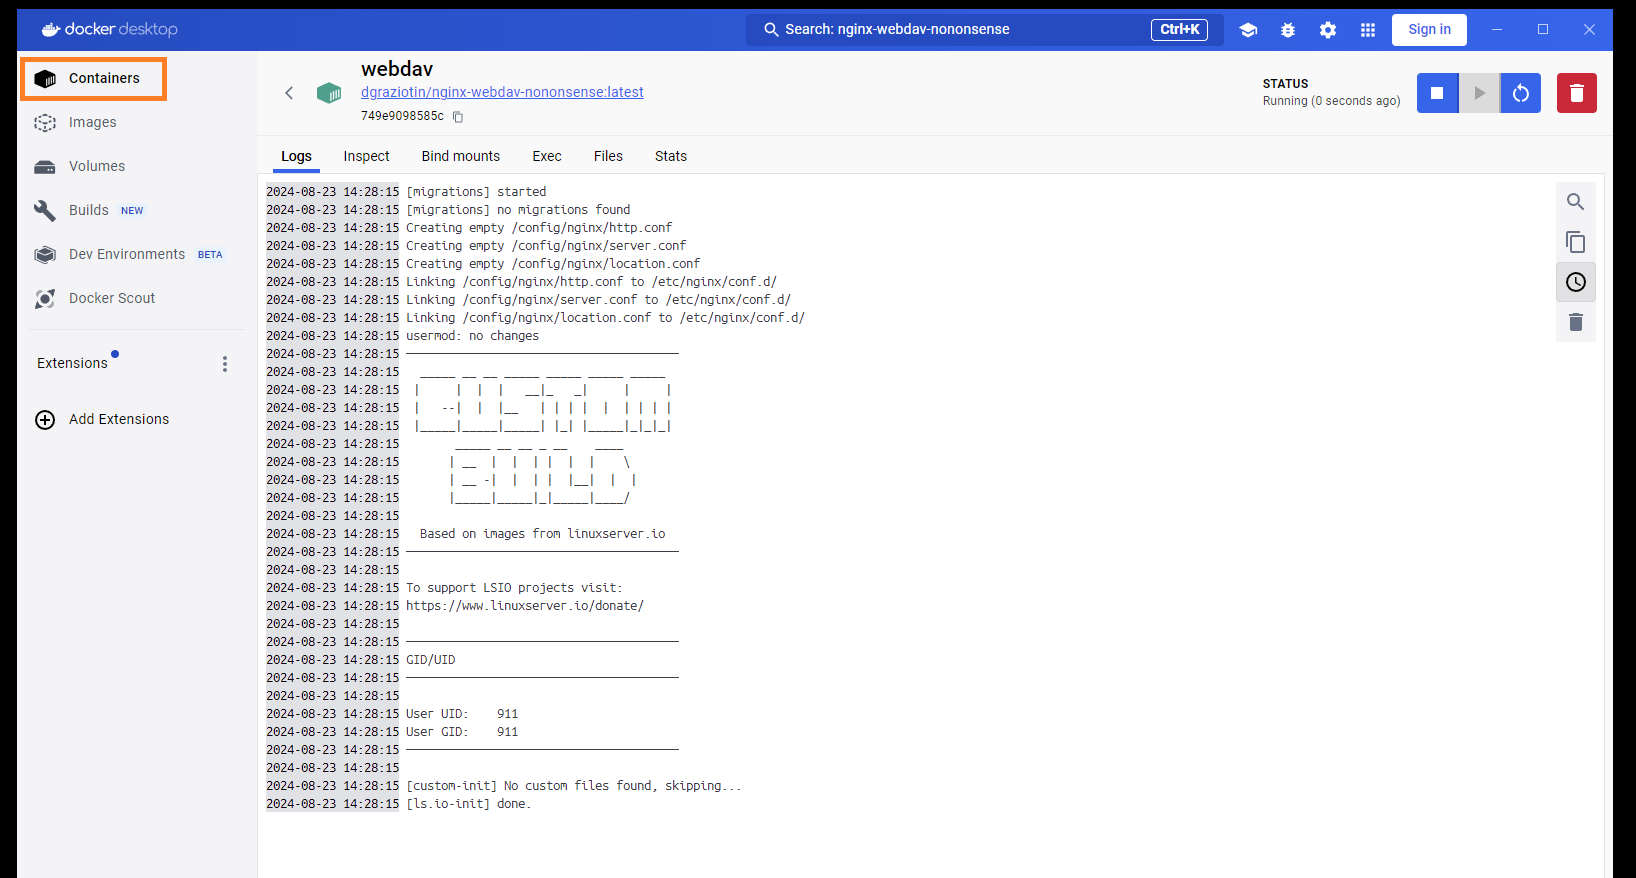
You will see something along these lines, click on
Containers:
-
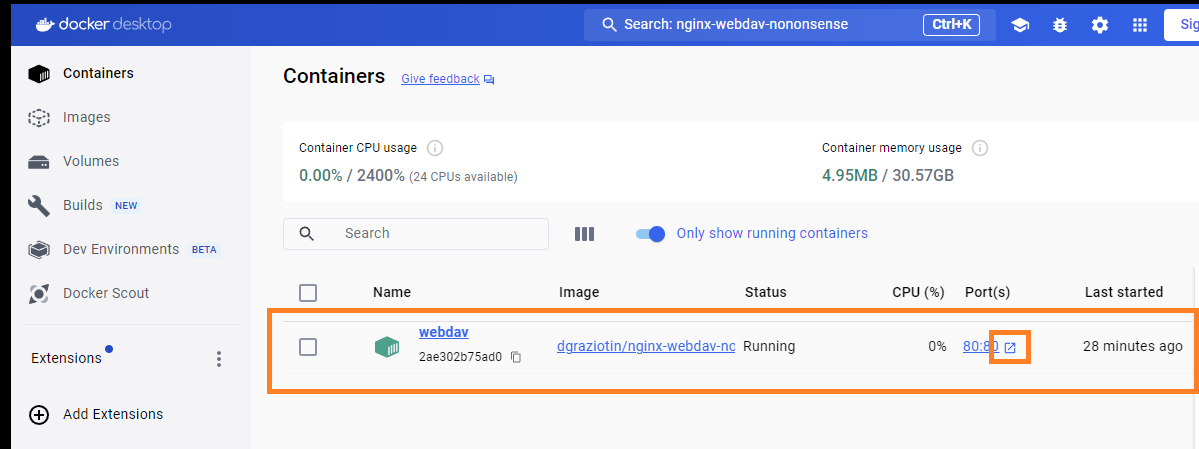
You will now see you running container, i.e. your WebDAV server. Click on the indicated button to open your server URI in the browser:
-
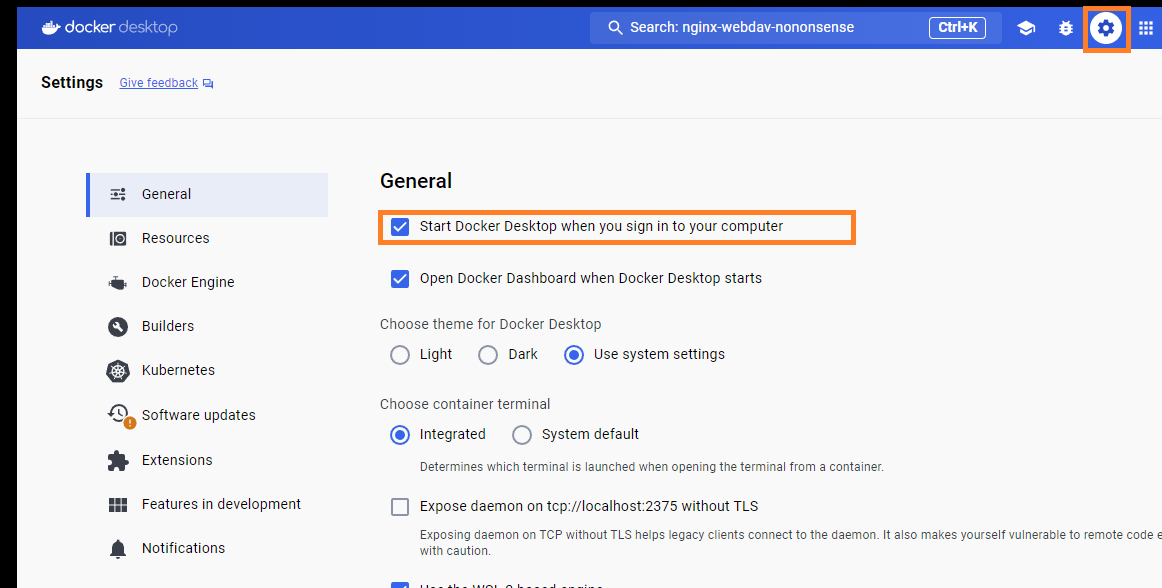
Open settings for Docker Desktop and makes sure it automatically runs every time you start Windows:
-
In Windows Explorer, open the folder you are serving over WebDAV and copy a TiddlyWiki file to it. You can have as many TiddlyWiki files, or other files such as images, as you desire. If your server is available at
localhost, then a file calledmywiki.htmlwill be available atlocalhost/mywiki.html
Please feel free to amend and improve upon this guide.