Announcing TiddlyTools $action-camera widget

Hi all,

I’m pleased to announce a new TiddlyTools custom widget, $action-camera.

This widget works with the standard navigator.mediaDevices.getUserMedia() functions to securely access your device camera and microphone and navigator.mediaDevices.getDisplayMedia() functions to perform screen/audio captures to create tiddlers containing still images (.webp, .png, or .jpg), video streams (.webm), or audio streams (.mp3).

You can use any combination of “video”, “voice”, “screen”, and “audio” devices, to capture still images, live video streams, screenshots, screencasts with voiceovers, or even picture-in-picture streams that include all four media sources at the same time! It supports 1:1, 4:3, and 16:9 aspect ratios at low, medium, or high resolution (up to “FullHD” using 1920x1080) with configurable quality settings from 1% (most compression) to 100% (no compression).

The code and documentation is here:
TiddlyTools/Widgets/action-camera.js and TiddlyTools/Widgets/action-camera.js/Info

As with all other $action-* widgets, the $action-camera widget can be invoked from any $button widget. In addition, it can also be directly rendered in tiddler content by using the embed=yes parameter, or opened in a separate window by using the window=_blank parameter.

The $action-camera widget is also available for use with the TiddlyTools/Panels/Images interface… just select your device settings (lower left of the “Images panel”), and then press “take photo” (lower right).

enjoy,
-e

12 Likes

Utterly brilliant and so comprehensive.

(I thought @EricShulman was a little quiet lately – now I see why).

Bravo.

Hi @EricShulman ,
thank you for this great enhancement! My phone has three backside cams. Is it possible to let the widget cycle through all these to choose the most appropriate?

This is more than amazing! Thank you Eric.
Now using my cell phone camera, I can take photo-note and video-note :wink:

2 Likes

Indeed a “Wonderous work”. Thanks again! – Hans

@EricShulman

Houston Eric, we have a problem…

Actually, a few.

This is the code:

<$button><$action-camera embed=yes size="16:9 small"/></$button>

I think some of these are due to using embed=yes

  1. I don’t need to click the button. After allowing the camera through in the browser (Firefox), the video stream just appears (in the button).

  2. size small, medium, large make no difference. I’m getting 1920x1080 as per the source and $action-camera is trying to sort of “fit” the video (I think… see #3).

  3. The video is shown offset to the right. Removing max-height:70vh fixes that but then the attempt to fit the image aborts (as you’d expect).

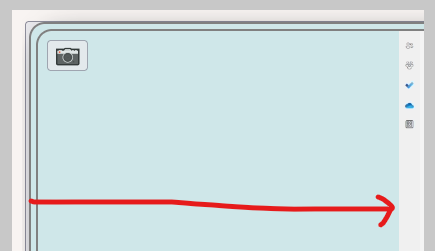
image

  1. Ironically, removing width:fit-content allows the video to fit the element. It also fixes the offset problem.

  2. The video element is a child of a body element which itself is a child of your button element. :scream: Copy-paste error?

  1. The video element’s style attr is stuffed with css making it awkward to modify/override. Do you plan on moving the styles into a class at some point?

Other than that, I still think it’s a marvelous piece of engineering. Bravo.

FYI: My use case:

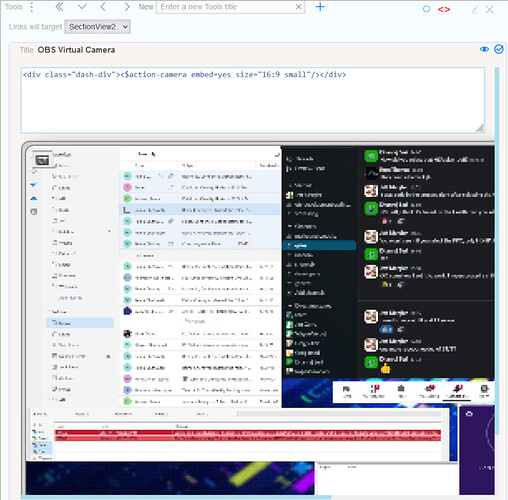
I use OBS Studio to construct a dashboard made up of sites and apps I need/like to keep an eye on (Talk being just one of them). I normally have the dash setup in OBS’ “Windowed Projector”. I decided to try bringing that into TiddlyWiki so I assigned the output to the OBS Virtual Camera and used $action-camera to bring the virtual cam into TiddlyWiki.

Works like a charm.

If you want the camera interface to appear when you press a button, then DON’T use embed=yes.
If you want the camera interface to appear “inline”, then DON’T use a $button

Your browser debugging output shows that the video element has a computed size of 480x270, which is the correct result when size="16:9 small" is specified. Both #2 and #3 may be browser-specific quirks when using Firefox. Can you test using Chrome to see if it produces the same problematic display issues?

This was done intentionally, so that the camera interface’s “wrapper” element will apply the same background color as the body.tc-body element (as determined by the current $:/palette settings). If you’ve applied customized styles to your .tc-body, this MIGHT be applying additional unwanted styles to the wrapper.

Try changing this line:

var wrap	=doc.createElement("body"); (this.embed||doc.body).insertBefore(wrap,null); wrap.id=id; wrap.className="tc-body";

to

var wrap	=doc.createElement("div"); (this.embed||doc.body).insertBefore(wrap,null); wrap.id=id; wrap.className="tt-action-camera";

and see if it helps.

I want the action-camera.js tiddler to be completely self-contained, without depending upon a separate Stylesheet tiddler. What aspects of the CSS do you want to customize? Perhaps I can figure out a strategy that keeps the self-contained styles as defaults, but still responds to custom CSS classes if they are defined in a separate Stylesheet tiddler.

Eric - thanks for the detail.

So, for reference:

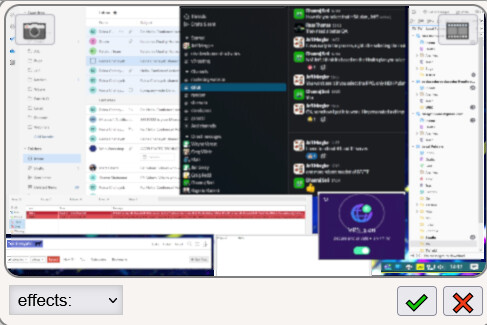
image

That’s a mashup of screen bits presented by the OBS virtual camera, represented by $action-camera in my wiki but only after I hacked on the video element inline style:

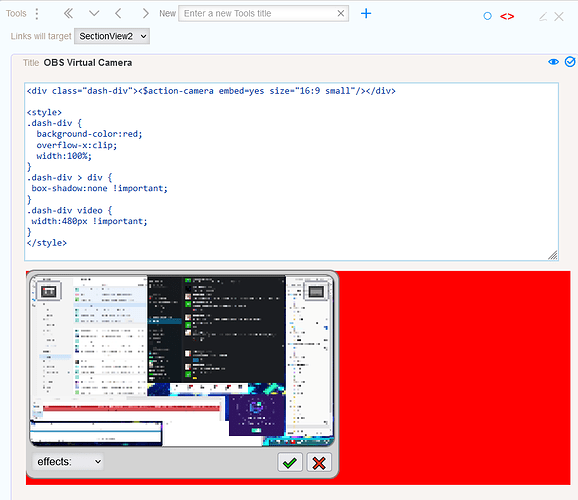
Now we’re seeing your intended 480x270 take effect.

Otherwise it looks like https://talk.tiddlywiki.org/uploads/default/original/2X/8/8387e7c2ea75c645e0fc8e55d2520915f35d9c89.png

Hard to say about future requirements, but the above problem for starters. And regarding that max-width:90vw, it’s assuming a typical single monitor screen environment. 100vw in my wiki is 5760px.

Well, there’s always !important. <shrug>

I have: overflow-x:hidden but that shouldn’t matter for this, here.

I’m still not clear why you wanted to introduce a second <body> element to use .tc-body. Applying it to the <div> does what you intended without breaking the HTML spec/standard. Right now, if I have a rule…

body > X {
  something:cool;
}

I’m going to (potentially) crap all over your X element, which may or may not be desirable. The challenge becomes having to tackle the specificity for body-children when there wouldn’t ordinarily be a problem. Said another way, multiple body elements are not on my radar – or anyone’s, given the spec.

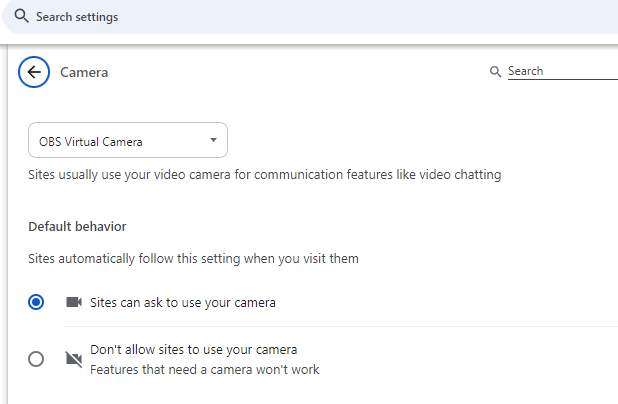
Why I won’t (can’t!) use Chrome:

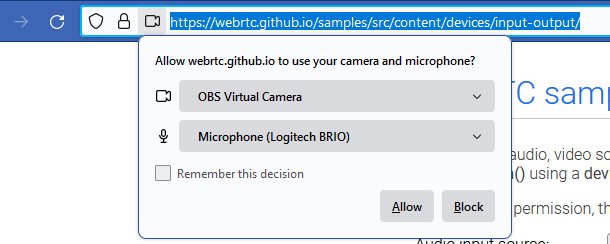
https://webrtc.github.io/samples/src/content/devices/input-output/

Firefox:

image

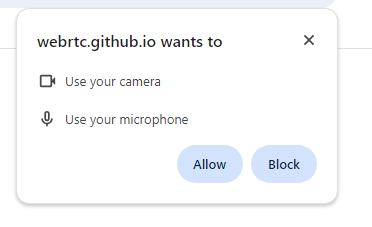
Chrome

image

And that’s despite having told Chrome to use it in settings (a pretty useless approach and terrible UX)

image

updated TiddlyTools/Widgets/action-camera.js:

  • use “div” instead of “body” for wrap element
  • set wrap element classname to “tt-action-camera” to support custom styles
  • TiddlyTools/Widgets/action-camera.js - remove “fit-content” styles from canvas and preview elements

This should (hopefully) take care of your issues.

Note: The camera wrapper now uses “background-color:lightgray;” as the default background color. To use the current page background color defined by the $:/palette settings, create a stylesheet tiddler (tagged with $:/tags/Stylesheet) containing:

.tt-action-camera { background:<<colour page-background>> !important; }

@CodaCoder: Let me know if you have any more problems.

-e

The actual width used by the camera is always based on the specified “size=…” widget param (or the camera device native resolution if no size param is provided). Thus, unless you use size="custom" width="..." height="..." to specify non-standard dimensions, the camera display will never exceed 1920x1080 (“FullHD” mode). The max-width:90vw is present to ensure that the camera display (but not the captured image resolution) is automatically scaled down when the current browser window is smaller than needed, so that the camera doesn’t “overflow” the window size.

The TWCore base styles (define in $:/themes/tiddlywiki/vanilla/base) set the page background color using:

body.tc-body { background-color: <<colour page-background>>; }

Thus, to automatically apply this specific CSS attribute to the camera wrapper background, the wrapper needed to be a “body” element with class=“tc-body”. However, as noted in the update I just posted, I removed the use of body.tc-body, and instead set class=“tt-action-camera” and use a default background-color:lightgray, which can be overridden by using a custom stylesheet tiddler containing something like this:

.tt-action-camera { background-color<<colour page-background>> !important; }

enjoy,
-e

Two more fixes to TiddlyTools/Widgets/action-camera.js:

  • canvas and preview use "width:auto;height:auto;" to keep aspect ratio for small windows
    removing width:fit-content;height:fit-content; CSS broke the “automatic shrink to fit the display” handling when using a smaller window. Using “auto” restores this handling. @CodaCoder: please check that this doesn’t re-introduce your Firefox display bugs.

  • showpip(): fix canvas display="block" instead of "inline"
    fixes layout issue when using canvas element to show “picture-in-picture” mode

Sorry for the rapid changes, but the CSS issues for ensuring correct layout of the camera interface are kinda subtle, and I forgot to check for “small window” use-cases.

-e

evidentially. Back soon.

Less chat, more pictures…

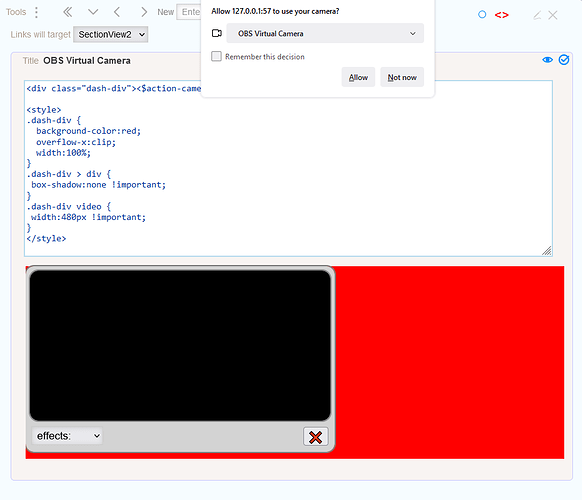
Add CSS (inline)

Enable Virtual Cam…

I can certainly move forward with this, Eric. But if there’s anything else I can help with…

Thanks again.

RSOE…

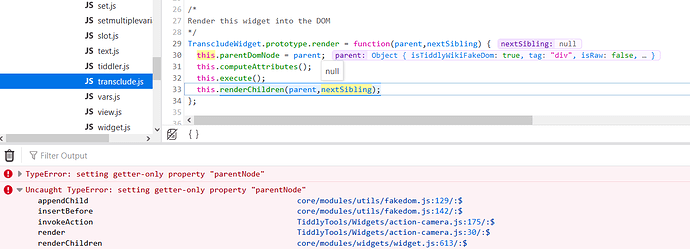
This is likely a TW bug, but here are my findings:

Call site:

\define run-wikify()

{{tool-item-OBS Virtual Camera}}

\end

tool-item-OBS Virtual Camera is the code in the previous screenshots.

Here’s the bang…

nextSibling===null.

Hi @EricShulman, I was just looking for a way to record audio directly from my wiki and found this tool. Thank you!

A minor problem I’m having is that every time I make a new recording I have to allow microphone access - even after I’ve “allow forever”. This is in both Edge and Brave.

Do you know of a workaround? I can’t find any way to manually add permissions to chromium.

For “security” reasons, when not using https:// (e.g., if using file:// or http://), the browser will not retain permissions for audio/video devices, even if you choose “allow forever”. Regrettably, there is no way around this.

-e

@EricShulman Great tool. I can use my phone to take images now.

Could we have a new feature to adjust the zoom level of camera?

1 Like

Are you wanting true camera zoom (using mediaDevices.getUserMedia() with advanced contraints),
or “simulated” zoom (using canvas.getContext('2d').setTransform())?

The first is difficult for me to develop and test because my camera device doesn’t support zoom.

The second is “do-able”, but will need to draw the current video stream into a canvas context (which I already know how to do for “picture-in-picture” handling). This would also have the advantage of working without regard to camera device capabiities, but may lack the quality of a “true” camera device zoom.

Also, the coding work is non-trivial, so I can’t make any promises as to when or even IF I can make this happen. Nonetheless, I’ll do a bit of experimenting to see what can be achieved.

-e

1 Like

Thanks for working on it.